
Review: Wanhao GR1
By Juliet Jolly

Disclaimer: I received this product free in exchange for an
honest, unbiased review.
At the
end of 2019 before the events that would shortly begin to unfold in China and
here in the United States. I received an email from Gary Chen the CEO of
Wanhao 3D printers requesting that I write a review of their just-released
resin printer the GADDSO Revolution I to be marketed to the dental
marketplace. I agreed and not long after I received the box from Wanhao
HQ in China. They also sent me a bottle of their Grey resin for my
review.
In this
review, I will recount my experiences with this printer and the support I
received from Wanhao when emailing them questions about the setup. Now
just one more disclaimer, this was my first experience with resin so I have no other
resin printer to compare it too. Now for the review!
UNBOXING
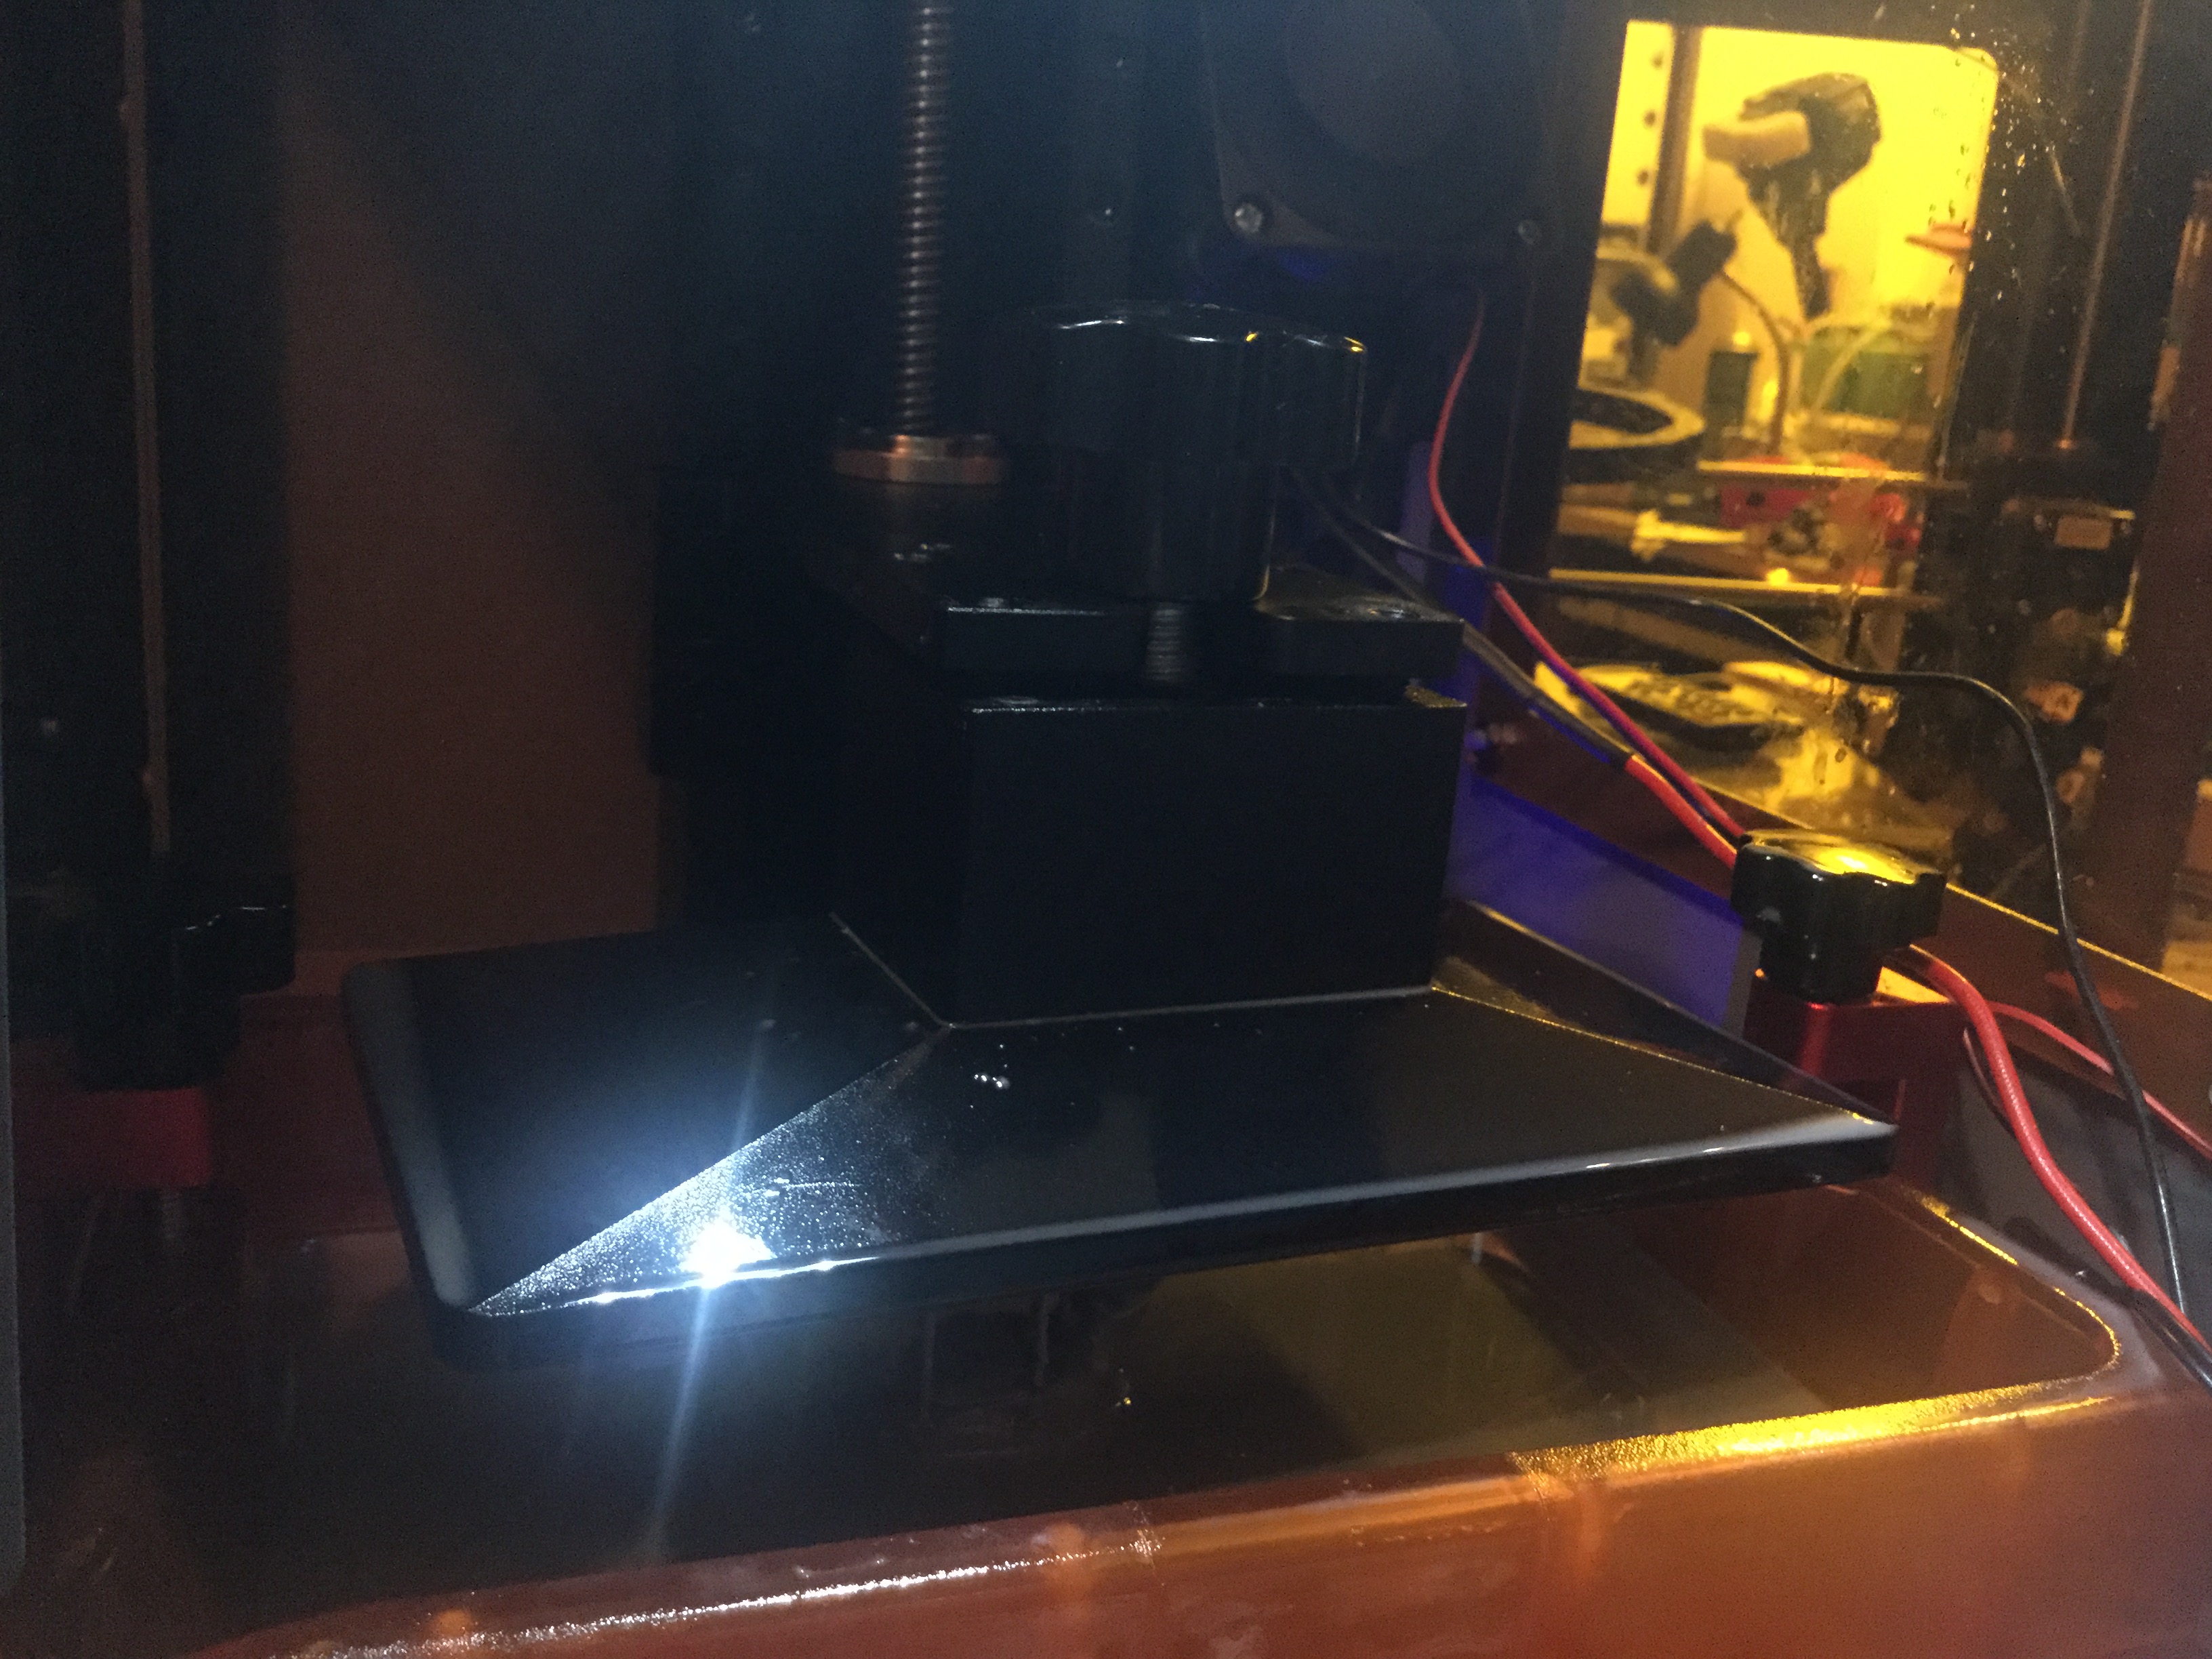
The GADDSO
Revolution I or GR1 is a DLP LCD Touch Screen High Precision
printer. It utilizes an ultra 150w UV light for curing. Wanhao
states it has an 86% higher contrast ratio than normal LCD printers. It
includes four set screws for leveling and a print area of 78.84(W)x140.16(H) mm.
.JPG)
Upon
receiving my printer, I quickly unboxed it. I found that besides the
printer it included one extra sheet of FEP film. FEP (fluorinated
ethylene propylene) is the plastic sheet on the bottom of the resin tank.
.JPG)
I read
and watched the setup
instructions which came on a USB stick included with the
printer. I set up the printer and started the example file located on the
USB stick. But instead of a smooth start and end leaving me with a
plastic ring I got a crashing and grinding sound from the build plated into the
DLP.
PROBLEMS
I sent
an email immediately to WANHAO asking what I had done wrong. The reply
came back that a revision kit which included a new worm screw and software
upgrade was in the mail. While waiting for the upgrade I watched
the YouTube video provided
on their site explaining how to perform the upgrade. While I awaited the
hardware to arrive at my house I performed the software upgrade to the printer.

UPGRADES
When I
received the new worm screw I was sure I could perform the upgrade and finally
be able to start printing. Unfortunately for me, the upgrade was not as
straight forward as it was laid out to be in the video. The video
explained that there were several setscrews and hex screws that had been removed.
The problem was that either through shipment or at the factory, these screws
were so tight that I ended up stripping their heads out. In one case I
even had to use a drill to remove the head of one to remove it from the
printer. Fortunately, I have a box of replacement screws for 3D
printers. In the end, I did get the upgrade accomplished, but I would
like to express my dissatisfaction that this was not detected in the factory
through product testing before my printer was shipped.
Finally,
I was able to start a print in resin how exciting. But before my first
successful print, I had to learn to level my printer. There are many
videos on leveling a resin printer on YouTube, but I found that the best video
was on Wanhao’s YouTube
site. I lot of hobbyists claim to have the perfect method for
leveling a resin printer but in the end, the manufacture had the best
method. After leveling then pouring my resin in the printer I started my
first print. Unfortunately and unknown to me Resin printers are required
to be at least room temperature in order to cure their layers. So,
because I chose to set up my printer in my garage in January I ended up with a
vat of resin lumps.
TEMPERATURE
As my
wife was unwilling to allow me to introduce resin vapors into my kitchen or
bedroom. Not to mention the mess that follows working with liquid resin.
I started looking into heaters. I first tried putting a floor heater
close to the printer and then checked the internal temperature of the
printer. The heater had little or no effect on the interior temperature
of the printer. After this, I did some digging on the internet and found
an internal heater for
resin printers. It was costly and at the time I deemed it too
expensive.
MY FIX
So, I
found a 3D printed
heater using an inexpensive window defroster sold on
e-bay. I ordered the parts and built this device, with a twist. I
added a thermostat I purchased some years prior to China to be viewed
externally. After powering up my new heater, I found I could easily
obtain an interior temp of 80 degrees Fahrenheit and maintain it all through
the cold hours of the night. I was ready to try to print again!

SUCCESS
This
time my print worked and as you can see I was given a very odd ring which
looked like a screaming old man. Since then I have printed other things
and continue to enjoy this printer. The printers included slicer software
that is impressive but does require a 64-bit Windows operating system in order
to run. On the issue of vapors, the printer impressive in that
also. As it includes a very good filtration system which as far as I can
smell doesn’t expel any dangerous resin fumes while the printer is closed.
.JPG)
.JPG)
Working
with resin is still very messy and requires the use of eye protection and
rubber gloves. I would also recommend something under and around your
printer to catch the drips. As for curing Amazon sells a plastic pickle
jar with a sealed lid and basket for cleaning your
prints. Wanhao sells a
curing box, which I would love to try. But until then I tried
curing in the sun and using a UV lamp.
The sun didn’t seem to work very well but curing under a UV lamp went
well. I found that the one item I printed in crystal clear resin actually
turned the resin yellow under the lamp. This could be because I left the
print under the light for more than 8 hours. I have not found anywhere
that definitively states how long a print is required to cure.
.JPG)


CONCLUSION
Besides
the hiccups I received at the beginning I am very impressed with the ease of
operation and results that I have received from this printer. I hope
someday to have another resin printer to compare this one too. The Wanhao
customer service was very quick to respond to me with suggestions to my
problems and Gary Chen has provided very thorough YouTube videos for the setup
of this printer. It has a rather steep price point as compared to other
resin printers in its same class of $899. But it is a solid very heavy
duty printer which will no doubt give you many fun prints. If not
for the price I would consider this a good beginner’s printer. I would
definably recommend this printer to anyone that can afford it.

Comments
Post a Comment